There’s nothing quite like the smell of freshly baked gluten-free biscuits filling your kitchen. Whether you’re preparing a hearty breakfast or a comforting side dish for dinner, this recipe is your go-to solution. With just six simple ingredients, you can create flaky, buttery gluten-free biscuits that are sure to impress.
What makes this recipe stand out is its focus on achieving a light, tender texture. By using the right techniques, like measuring flour accurately and keeping your butter cold, you’ll get perfect results every time. The dough comes together quickly, making it ideal for busy mornings or last-minute meals.
This approach ensures that each bite is soft, flaky, and utterly delicious. Ready to get started? Let’s dive into the key ingredients and steps that make these gluten-free biscuits a must-try.
Table of Contents
Key Takeaways
- Perfect for breakfast or as a dinner side dish.
- Uses only six simple ingredients for quick preparation.
- Focuses on achieving a flaky, buttery texture.
- Techniques like proper flour measurement and cold butter are essential.
- Yields light, tender biscuits every time.
Introduction to Gluten-Free Biscuit Baking
Baking can be both an art and a science, especially when it comes to creating the perfect treat. This biscuit recipe is designed to be simple yet flavorful, making it ideal for anyone, whether you’re a seasoned baker or just starting out. With just a few ingredients and minimal prep time, you can whip up a batch in under 30 minutes.
Embracing a Simple Yet Flavorful Recipe
What makes this recipe stand out is its simplicity. You’ll need just six basic ingredients, including 2 cups of flour and a dash of buttermilk. The biscuit dough comes together quickly, and the result is a light, flaky texture that’s hard to resist. Even if you’re short on time, this recipe ensures you can enjoy freshly baked treats without the hassle.
The Benefits of Going Gluten-Free
Choosing alternative ingredients can offer several benefits. For those with dietary restrictions, it’s a healthier option that doesn’t compromise on taste. Additionally, using the right techniques, like keeping your butter cold and rolling the dough to the perfect thickness, ensures professional results every time.
“The key to great baking is in the details—measuring accurately and handling the dough with care.”
Here’s a quick overview of the benefits:
| Benefit | Description |
|---|---|
| Healthier Option | Ideal for those with dietary restrictions. |
| Quick Preparation | Ready in under 30 minutes. |
| Beginner-Friendly | Simple steps for perfect results. |
| Versatile | Can be paired with breakfast or dinner. |
By following these tips, you’ll master the art of baking in no time. Whether you’re making them for breakfast or as a side dish, these treats are sure to impress.
Key Ingredients and Must-Have Equipment
The foundation of any great recipe lies in its ingredients and tools. For this recipe, each component plays a crucial role in achieving the perfect texture and flavor. From the type of flour to the tools you use, every detail matters.
Ingredient Breakdown: Flour, Butter, Milk, and More
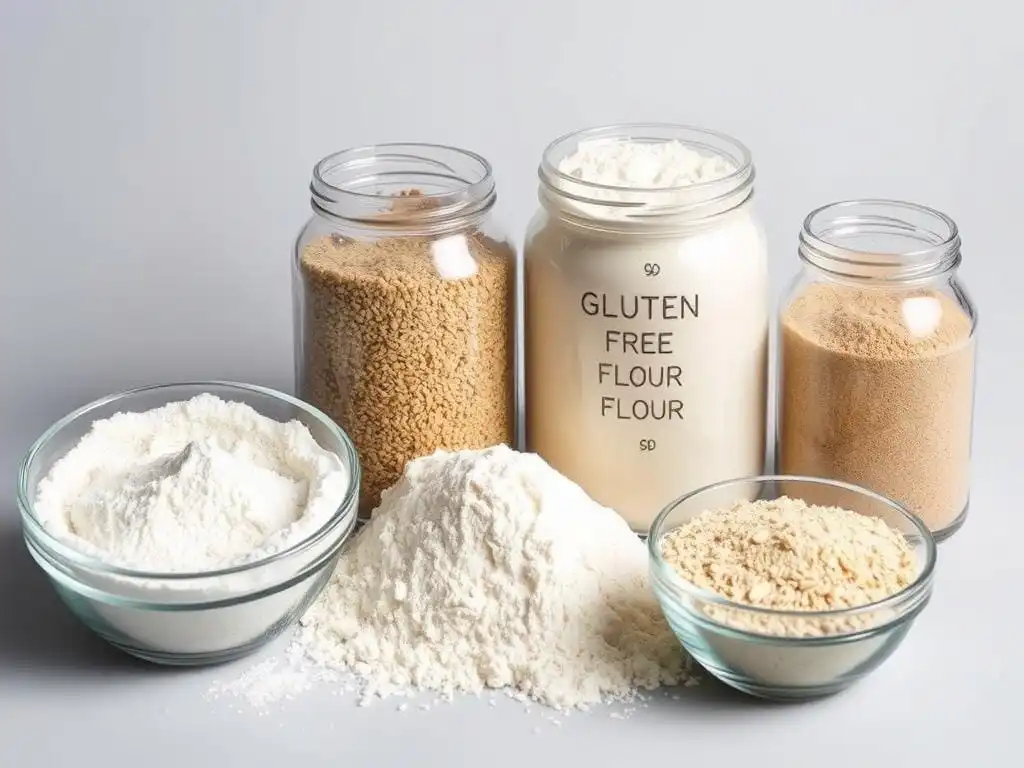
Start with 2 cups of gluten-free flour. Brands like Cup4Cup or Bob’s Red Mill are excellent choices for consistent results. Cold butter is essential for creating a flaky texture, while buttermilk adds moisture and richness.
Don’t forget the baking powder. It’s the leavening agent that gives your dough its rise. A pinch of salt and a touch of sugar balance the flavors perfectly. Each ingredient is carefully selected to ensure a light, tender result.
Essential Tools and Measuring Tips
Precision is key in baking. Use a set of measuring cups and spoons to ensure accuracy. A pastry cutter helps blend the butter into the flour evenly, while a biscuit cutter ensures uniform shapes.
When measuring flour, stir it first, then scoop and level it off. This prevents packing too much into your cup, which can affect the dough’s consistency. A baking sheet lined with parchment paper is perfect for even baking in the oven.
“Great baking starts with the right tools and precise measurements.”
With these ingredients and tools, you’re set to create a batch of delicious treats. Follow these tips, and you’ll achieve professional results every time.
Preparing the Dough: Mixing, Rolling, and Cutting
Mastering the art of dough preparation is the secret to perfect baked goods. This process involves mixing, rolling, and cutting with precision to achieve a good texture and consistency. Let’s break it down step by step.
Step-by-Step Dough Formation
Start by combining your dry ingredients in a large bowl. Add baking powder and mix thoroughly. Cut cold butter into small cubes and work it into the flour mixture using a pastry cutter. The goal is to create pea-sized crumbs for a flaky texture.
Next, pour in cold milk and stir until the dough just comes together. Overmixing can lead to a tough result, so handle the dough gently. Once combined, turn it onto a floured surface and shape it into a rough ball.
Techniques for Even Biscuit Cutting
Roll the dough to a thickness of about 1 1/2 to 2 inches. Use a sharp cutter to press straight down without twisting. Twisting can seal the edges and prevent proper rising. Place the cut pieces on a baking sheet, leaving space between them for even baking.
Chill the dough for 30 minutes before baking. This step ensures the butter stays cold, which is crucial for achieving a flaky texture. Preheat your oven to 450°F for optimal results.
“The key to perfect dough is working quickly with cold ingredients and handling it with care.”
Here’s a quick summary of the process:
- Mix dry ingredients and cut in cold butter.
- Add milk and stir gently to form the dough.
- Roll to the right thickness and cut with a cutter.
- Chill before baking for the best texture.
By following these steps, you’ll create a good dough that bakes into tender, flaky treats. Each step builds toward a delicious outcome, so take your time and enjoy the process.
Tips for Perfect Flour Measurement and Handling
Accurate flour measurement is the cornerstone of perfect baking results. Using the right amount ensures your baked goods turn out light and airy, not dense or dry. This is especially important when working with alternative flours, which can behave differently than traditional ones.
Stir, Scoop, and Level Methods Explained
To measure flour correctly, start by stirring it in its container. This prevents it from settling and ensures consistency. Next, scoop the flour into your measuring cup using a spoon. Avoid packing it down. Finally, level off the excess with a straight edge, like a knife.
This method helps you avoid adding too much flour, which can lead to dense results. It’s a simple yet effective tip for achieving the perfect texture every time.
Common Pitfalls to Avoid
Adding too much sugar or salt can throw off the balance of your recipe. Excess sugar can make your baked goods overly sweet, while too much salt can overpower the flavors. Always measure these ingredients carefully.
Another common mistake is overpacking the flour. This can make your dough too dry and affect the final texture. Stick to the stir, scoop, and level method for consistent results.
Practical Tips for Flour Handling
If you have a digital scale, use it for even more precision. Weighing your flour can eliminate guesswork and ensure accuracy. Keep your flour in an airtight container to maintain its freshness and prevent clumping.
When working with alternative flours, remember that they often require careful measuring. A slight variation can impact the final product, so take your time and follow the tips above.
“Precision in measuring ingredients is the secret to baking success.”
By mastering these techniques, you’ll achieve light, tender baked goods every time. Whether you’re a beginner or an experienced baker, these tips will help you elevate your skills and enjoy delicious results.
Achieving Flaky and Tender Gluten Free Biscuits
The secret to achieving tender, layered results lies in how you handle your ingredients. From the temperature of your butter to the way you chill your dough, every step plays a crucial role in creating the perfect texture. Let’s dive into the techniques that make all the difference.
The Role of Cold Butter and Proper Chilling
Using cold butter is essential for creating flaky layers. When the butter melts in the oven, it creates steam, which lifts the dough and forms those distinct, airy pockets. To ensure success, keep your butter refrigerated until the last moment and work quickly to maintain its temperature.
After cutting your dough into shapes, place them on a baking sheet and chill for 30 minutes. This step prevents the butter from softening too soon, ensuring your baked goods rise evenly and develop a light, tender crumb.
Laminating the Dough for Layered Texture
Laminating is a technique that builds layers into your dough. Start by rolling the dough into a rectangle, then fold it into thirds like a letter. Repeat this process once or twice, chilling the dough between folds. This method creates distinct, flaky layers that elevate your results.
Buttermilk also plays a key role here. Its acidity reacts with leavening agents, adding moisture and enhancing the dough’s tenderness. Combined with proper laminating, it ensures a texture that’s both light and satisfying.
“The combination of cold butter and precise folding techniques is what transforms a simple dough into a masterpiece.”
By focusing on these methods, you can achieve a superior texture that rivals traditional recipes. Whether you’re a seasoned baker or just starting out, these tips will help you create delicious, flaky treats every time.
Exploring the Best Gluten-Free Flour Blends

Choosing the right flour blend can make or break your baking results. With so many options available, it’s essential to understand how each one performs in your recipes. Let’s compare some of the most popular blends to help you achieve the perfect texture and flavor.
Comparing Cup4Cup, Bob’s Red Mill, and Others
Cup4Cup is a standout choice for its unique texture, thanks to the inclusion of milk powder. This ingredient adds stability and structure, making it ideal for buttermilk biscuits. It’s a 1:1 substitute for all-purpose flour, simplifying your baking process.
On the other hand, Bob’s Red Mill often requires adjustments, especially with xanthan gum. While it’s a reliable option, its consistency can vary, affecting how the dough rolls out on your baking sheet. King Arthur’s blend is another contender, but it may produce denser results compared to Cup4Cup.
“The right flour blend can transform your baking, ensuring light, tender results every time.”
Here’s a quick comparison of these blends:
- Cup4Cup: Offers a balanced texture with milk powder for stability.
- Bob’s Red Mill: May need adjustments for xanthan gum and consistency.
- King Arthur: Reliable but can yield denser baked goods.
When selecting a flour blend, consider how it performs in your recipe. For buttermilk biscuits, Cup4Cup’s consistency and texture make it a top choice. Experiment with different blends to find the one that works best for you.
Adapting the Recipe for Dairy-Free and Vegan Options
Adapting recipes to fit dietary needs doesn’t mean sacrificing flavor or texture. With a few simple swaps, you can create delicious baked goods that are both dairy-free and vegan-friendly. Whether you’re avoiding dairy for health reasons or personal preference, these tips will help you achieve the same rich, flaky results.
Substituting Dairy Ingredients Without Compromising Taste
One of the easiest ways to replace dairy is by using coconut cream or palm shortening. These alternatives mimic the richness of butter and milk while keeping the dough tender. For example, swap cold butter with palm shortening and buttermilk with coconut cream. Keep these ingredients at room temperature for easier mixing.
When measuring liquids like coconut cream, use a tablespoon for accuracy. This ensures consistency in your dough and prevents it from becoming too wet or dry. If the dough feels sticky, chill it for 15 minutes before rolling it out. This step helps maintain the ideal texture.
“The right substitutions can transform your baking, offering delicious results without dairy.”
Here’s a quick guide to dairy-free substitutions:
- Replace butter with palm shortening or vegan butter.
- Use coconut cream or almond milk instead of buttermilk.
- Measure liquids carefully with a tablespoon for consistency.
By following these steps, you can enjoy a free-from-dairy version of your favorite treats. Experiment with different combinations to find what works best for you. The top of your baked goods will still be golden and flaky, proving that dietary restrictions don’t have to limit your culinary creativity.
Mastering Gluten Free Biscuits: Baking and Resting Techniques

Achieving the perfect bake requires precision and patience. From preheating your oven to resting the dough, each step plays a crucial role in creating golden, tender results. Let’s explore the techniques that ensure your baked goods turn out just right.
Optimal Baking Temperatures and Time Adjustments
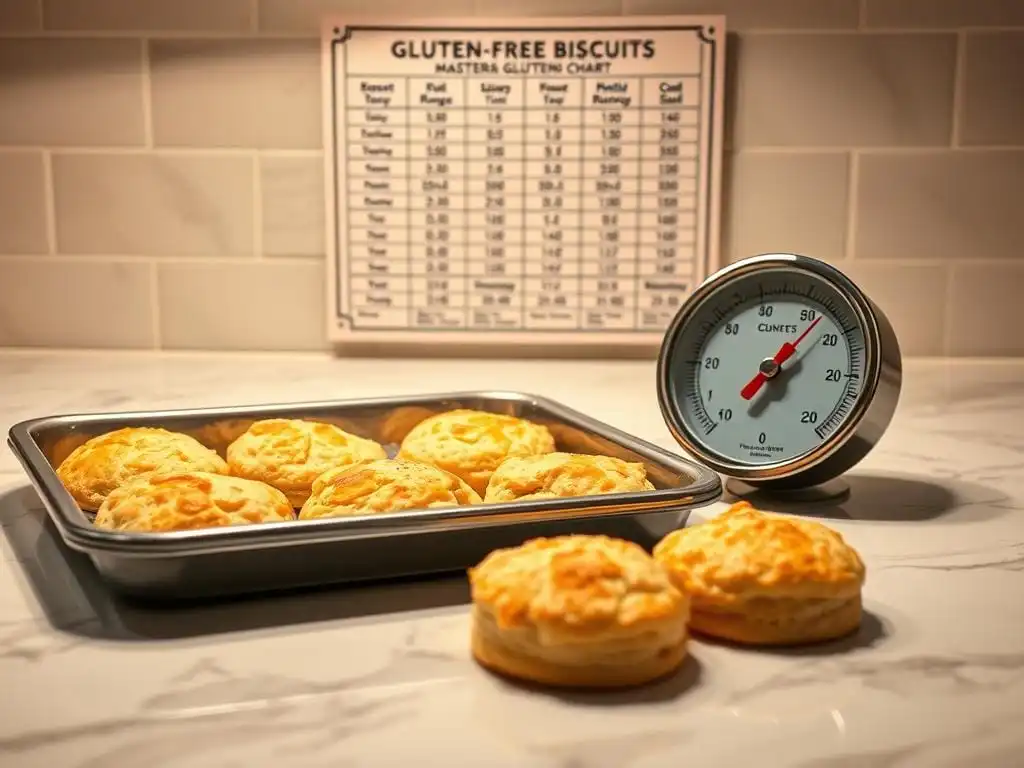
Preheating your oven to 425°F is essential for a consistent rise. This temperature allows the butter to melt gradually, creating steam that lifts the dough. Bake for 12-15 minutes, checking for a golden brown top. Overbaking can dry out your treats, so monitor closely.
Different blends, like Bob’s Red Mill or Cup4Cup, may require slight adjustments. For example, Cup4Cup’s inclusion of milk powder ensures a stable texture, while Bob’s blend might need extra chilling time. Always test and adjust based on your chosen blend.
The Importance of Refrigeration and Resting the Dough
Resting the dough for 10-15 minutes before baking improves moisture distribution. This step ensures a more consistent texture and prevents grittiness. Refrigerating the dough also keeps the butter cold, which is key for achieving flaky layers.
When using blends like Bob’s Red Mill, chilling the dough for an extra 5 minutes can enhance the final texture. The right resting time ensures your baked goods are tender and not overly dense.
“Patience in baking leads to perfection—resting the dough is as important as the bake itself.”
Here’s a quick guide to baking and resting techniques:
| Technique | Benefit |
|---|---|
| Preheat to 425°F | Ensures even rise and golden top. |
| Bake for 12-15 minutes | Prevents overbaking and dryness. |
| Rest dough for 10-15 minutes | Improves texture and moisture. |
| Chill dough before baking | Maintains flaky layers. |
By mastering these techniques, you’ll achieve consistently tender and golden results. Whether you’re using Cup4Cup or Bob’s Red Mill, precision in temperature and timing ensures the best outcome.
Creative Serving Ideas and Variations
Transform your meals with versatile and delicious homemade treats. Whether you’re serving them for breakfast, lunch, or dinner, there are countless ways to enjoy your freshly baked creations. Pair them with classic toppings or explore new flavors to make every meal special.
Pairing Your Treats with Breakfast and Dinner Options
For breakfast, try pairing your baked goods with butter and honey or a drizzle of maple syrup. They also make a perfect base for sausage gravy or a hearty sandwich. At dinner, serve them alongside soups or stews for a comforting touch.
Looking for a savory twist? Add herbs or shredded cheese to the dough before baking. This simple variation adds a burst of flavor that complements any meal. You can even use them as a place to showcase your favorite spreads or dips.
Storing Tips for Freshness and Convenience
To keep your baked goods fresh, store them in an airtight container at room temperature for up to 24 hours. For longer storage, wrap them tightly and place them in the freezer. They’ll stay fresh for up to three months, ready to enjoy whenever you need a quick treat.
When reheating, let them thaw at room temperature for a few minutes. Then, warm them in the oven for a crispy exterior and soft interior. This method ensures they taste just as good as the day they were baked.
“The right pairing can turn a simple treat into a memorable meal.”
Here are some quick ideas to inspire your next serving:
- Breakfast: Pair with scrambled eggs and avocado.
- Lunch: Use as a base for a chicken or veggie sandwich.
- Dinner: Serve alongside chili or roasted vegetables.
- Snack: Top with jam or cream cheese for a sweet or savory bite.
With these creative ideas, you’ll never run out of ways to enjoy your homemade treats. Experiment with different flavors and pairings to find your favorites.
Conclusion
Creating homemade treats doesn’t have to be complicated—this recipe proves it. With just a few simple steps, you can enjoy flaky, tender results that are perfect for any meal. Whether you’re pairing them with eggs for breakfast or serving them alongside soup for dinner, these treats are incredibly versatile.
Remember, the key to success lies in handling your ingredients with care. Keep your butter cold, measure your flour accurately, and don’t overwork the dough. These small details make a big difference in achieving the perfect texture.
Feel free to experiment with different ingredient variations to suit your taste. Swap in dairy-free options or add herbs and cheese for a savory twist. The possibilities are endless, and the results are always delicious.
We’d love to hear how your creations turn out! Share your feedback in the comments or connect with us on social media. Enjoy these homemade treats as part of a satisfying breakfast or any meal—they’re sure to become a favorite in your kitchen.
Read also our post: Best Diet For Autism: A Complete Guide To Adapted Nutrition
FAQ
What is the best flour blend for gluten-free biscuits?
Can I make dairy-free or vegan biscuits?
How do I ensure my biscuits are flaky and tender?
What tools do I need for making biscuits?
How long should I bake the biscuits?
Can I freeze the dough for later use?
What’s the best way to measure flour?
How can I add variety to my biscuits?
Why is resting the dough important?

